colmap 初体验🫠🎶
导读:安装:Installation — COLMAP 3.9-dev documentation.使用:Tutorial — COLMAP 3.9-dev documentation.准备数据集.下载一个小猫的RGB数据集 THU-MVS: Multi-View 3D Reconst
安装:Installation — COLMAP 3.9-dev documentation
使用:Tutorial — COLMAP 3.9-dev documentation
准备数据集
下载一个小猫的RGB数据集 THU-MVS: Multi-View 3D Reconstruction Datasets
创建 project_cat 文件夹,把图片放 project_cat/images 下
启动程序
运行 COLMAP.bat启动程序,官方文档中有一些实用的操作说明:Graphical User Interface — COLMAP 3.9-dev
documentation
Rotate model: Left-click and drag.
Shift model: Right-click or -click (-click) and drag.
Zoom model: Scroll.
Change point size: -scroll (-scroll).
Change camera size: -scroll. (红色的表示相机拍摄位置的符号)
Adjust clipping plane: -scroll. (距离观察视点一定距离的点会被 clipped)
Select point: Double-left-click point (change point size if too small). The green lines visualize the projections into the images that see the point. The opening window shows the projected locations of the point in all images.
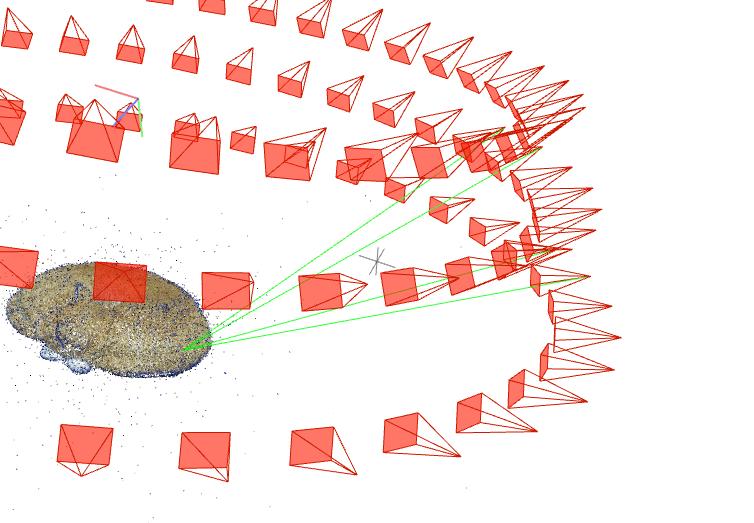
Select camera: Double-left-click camera (change camera size if too small). The purple lines visualize images that see at least one common point with the selected image. The opening window shows a few statistics of the image.
Reset view: To reset all viewing settings, choose Render > Reset view.
执行一次自动(默认行为)的重建
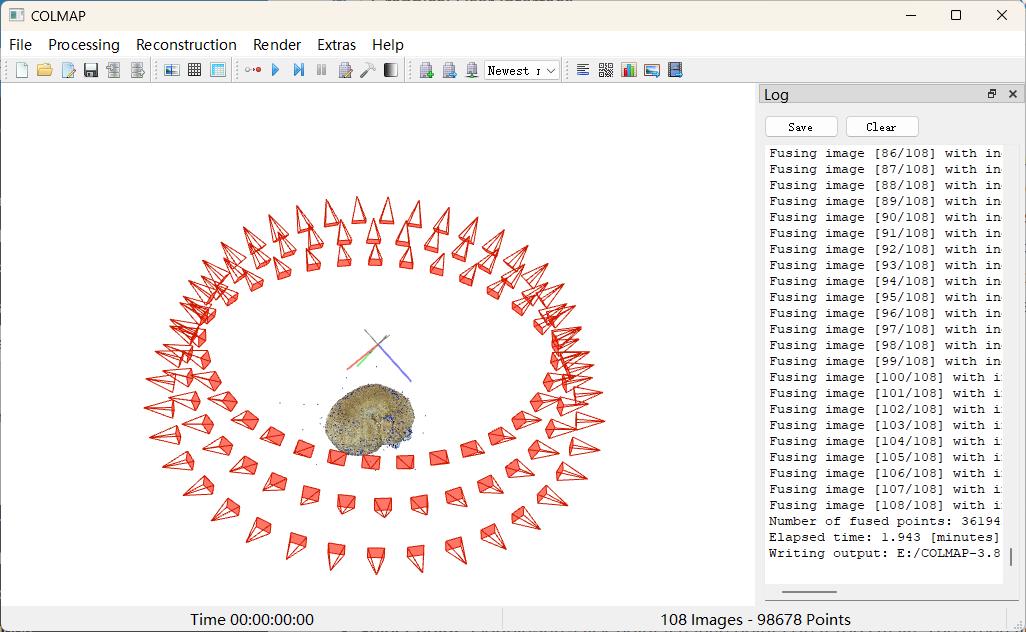
执行 Automatic reconstruction 进行一次

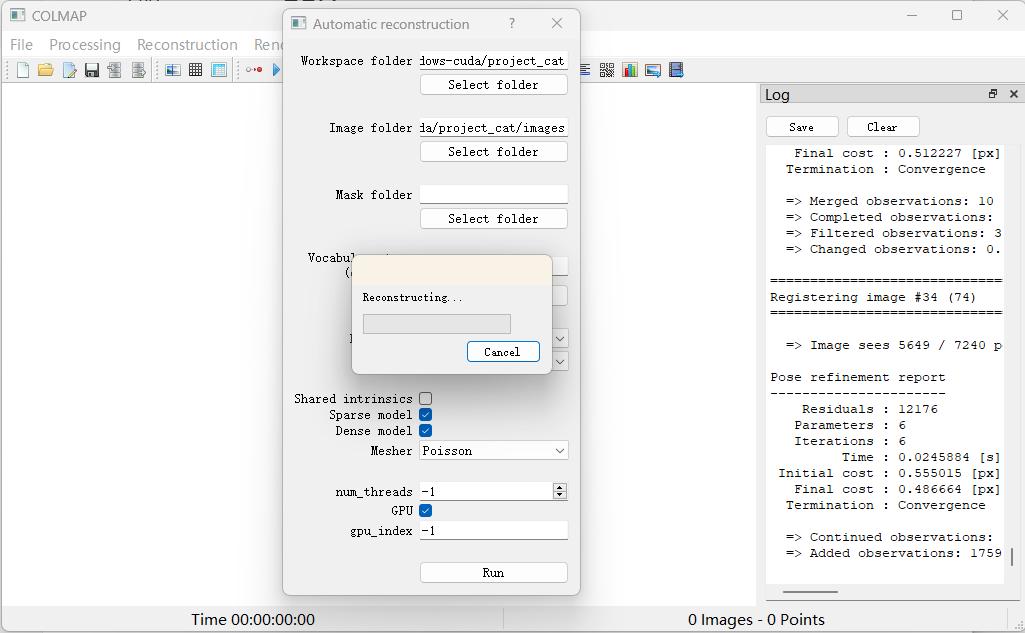
需要等待比较久的时间,最开始比较占用CPU,大概执行的是特征点计算和匹配一类的,后面会占用比较大的GPU使用率,GPU内存占用大概2G.
到下面的界面后表明完成。
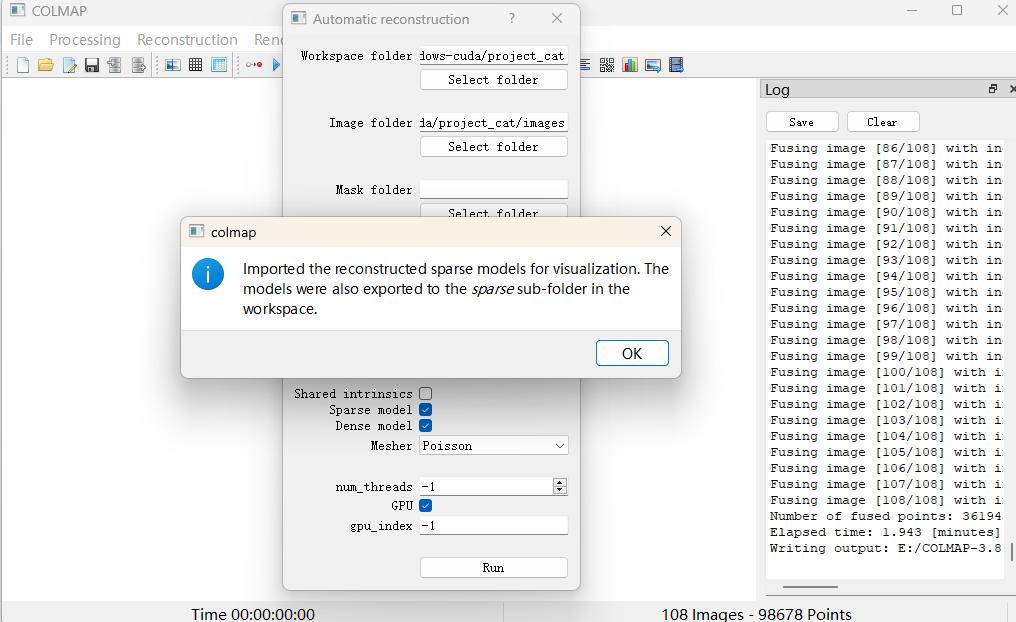
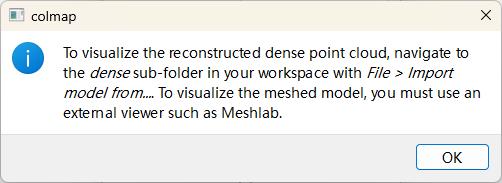
同时介绍了可视化sparse, dense, mesh 模型结果的方法。
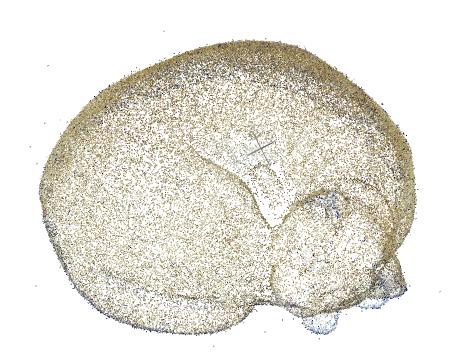
效果图
稀疏重建
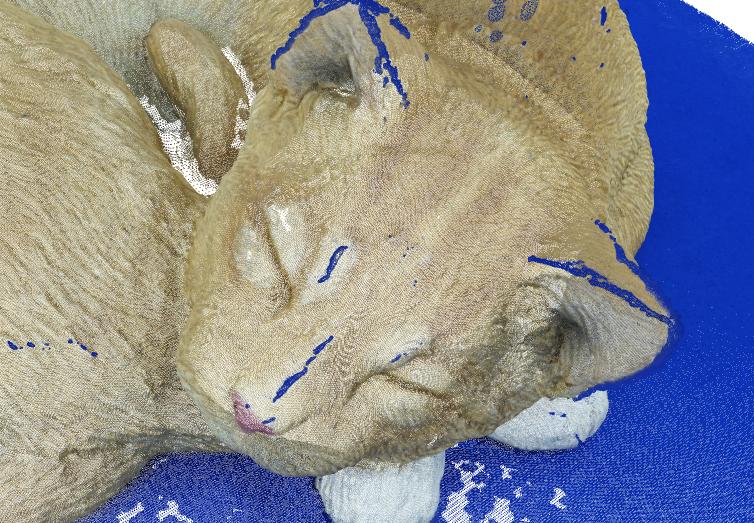
稠密重建
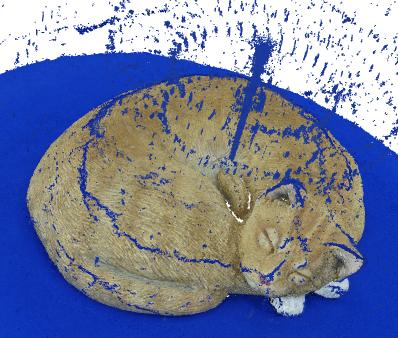
凑近看是稠密点云

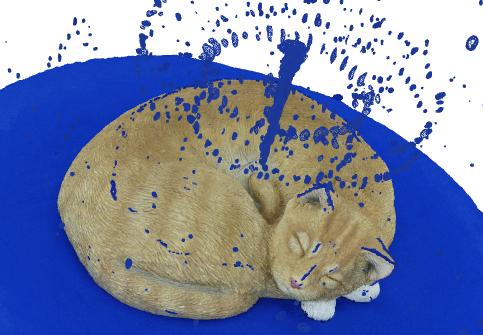
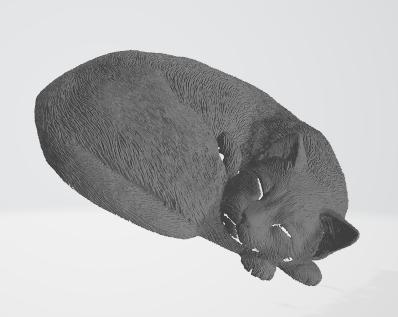
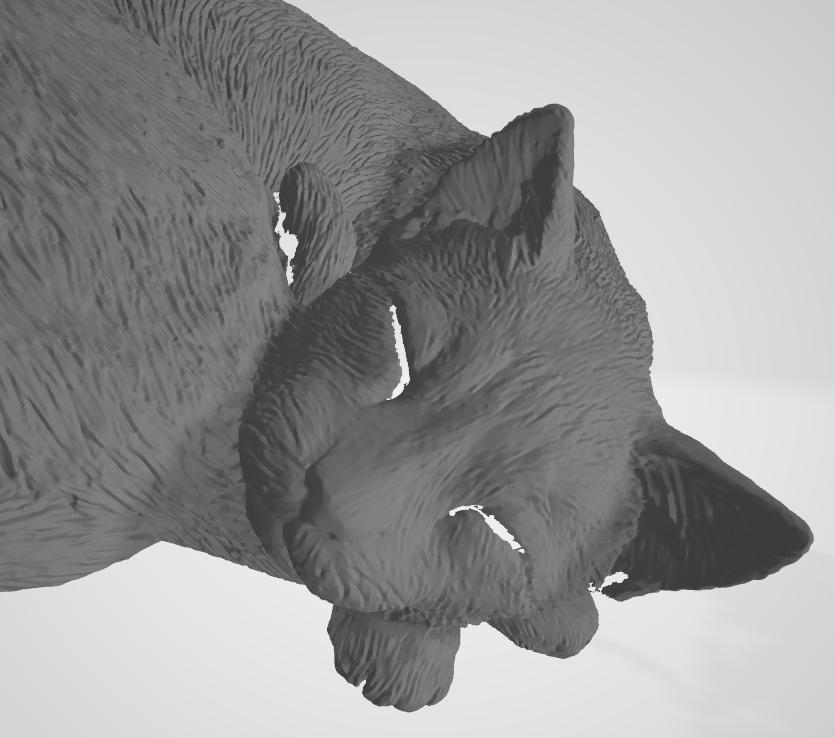
ground-truth
上一篇:4.10 x64dbg 反汇编功
下一篇:CesiumJS Primiti